Do you want to create your own talking AI avatar video, if so then this article is for you as here I am going to share with you the step-by-step process of bringing a still image to life.
But before we get started, if you prefer video over written content then you can watch this video instead of reading this post, the choice is yours.
So without further a do let’s get started!
Create an AI-generated Image
To create an AI avatar first you need an image and most of the AI avatars you have seen on YouTube and Instagram are the images that are later turned into an AI video using an AI avatar maker.
So to create an image we will use a free AI image generation tool Leonardo AI, which produces results similar to MidJourney that can be used commercially.
But keep in mind that it has a daily limitation and gives 150 credits daily which I think is enough for creating multiple-quality images.
Just sign up for Leonardo AI and then Go to I am whitelisted it will give you access to the tool instantly and take you to its dashboard.
Once you are in the dashboard click on the AI image generation option, you will see a place to write your prompt just write the prompt and describe your image.

You can also take the help of ChatGPT to create a prompt for yourself, just say it to create a specific prompt for you and the things you want in your image and it will create a prompt for you.
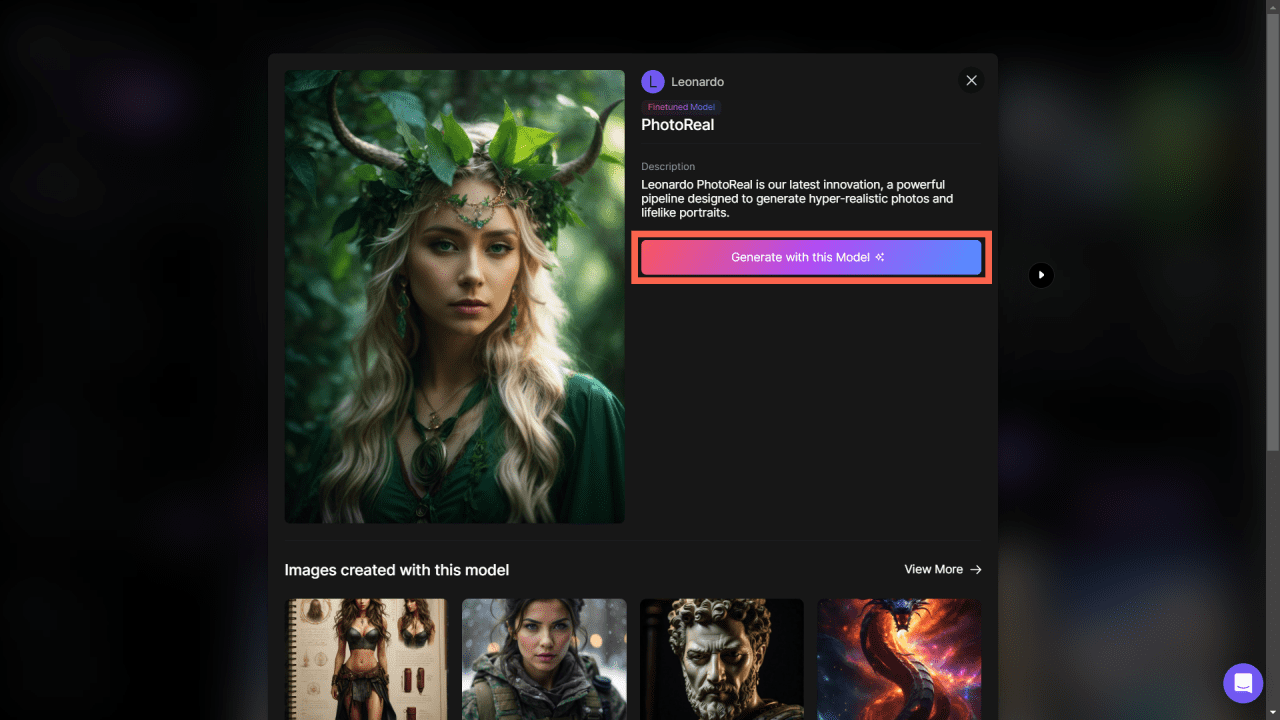
Just paste the prompt in Leonardo AI and select the image size, model, and how many images you want, I recommend using the photorealistic model if you want your model to look realistic.
But to select it you have to select it from the home page just click on the photo-realistic model then hit generate with this model, when you are done with all the settings click the generate button.
It will generate the number of images that you set, just download any one of them that you think is the best.
Upload it to Studio DID
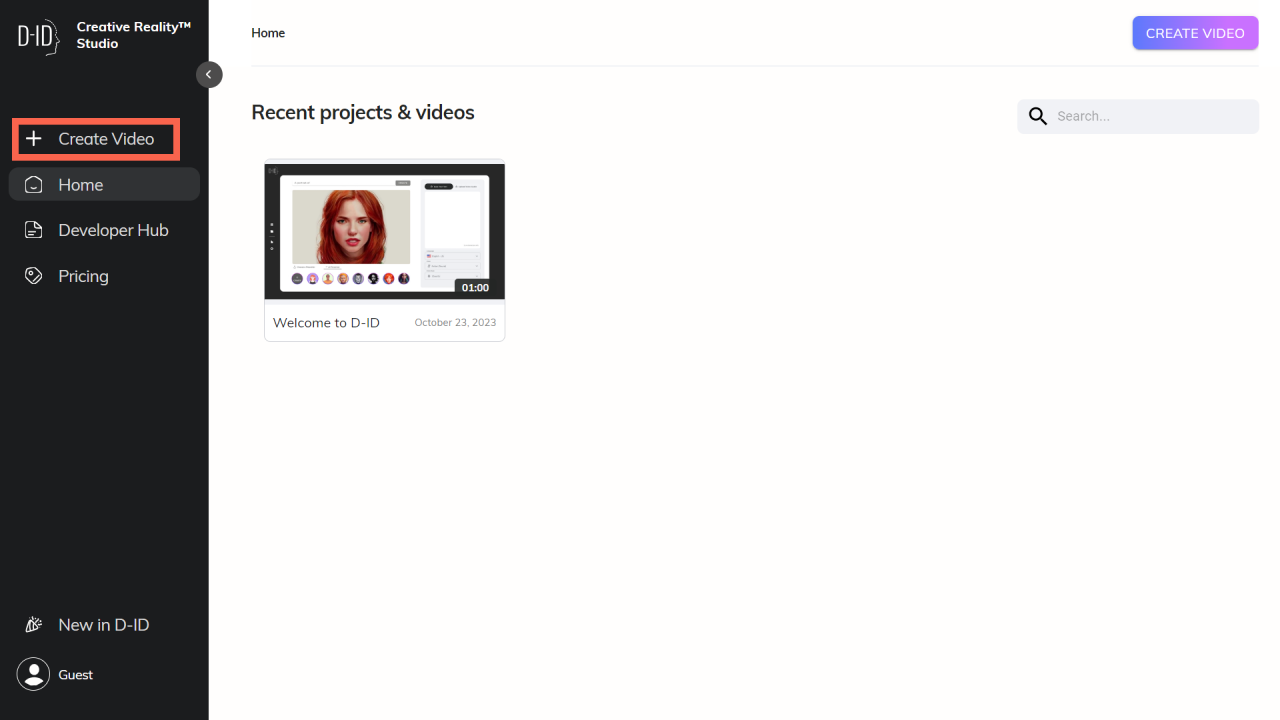
Now your AI avatar image is ready, it is time to turn it into a talking AI avatar video, to do it open Studio DID in the browser.
Once it opens click on the create video button there you will see multiple AI characters that you can use to create your video, but as we want our character to be unique we will use the image that we created using Leonardo AI.
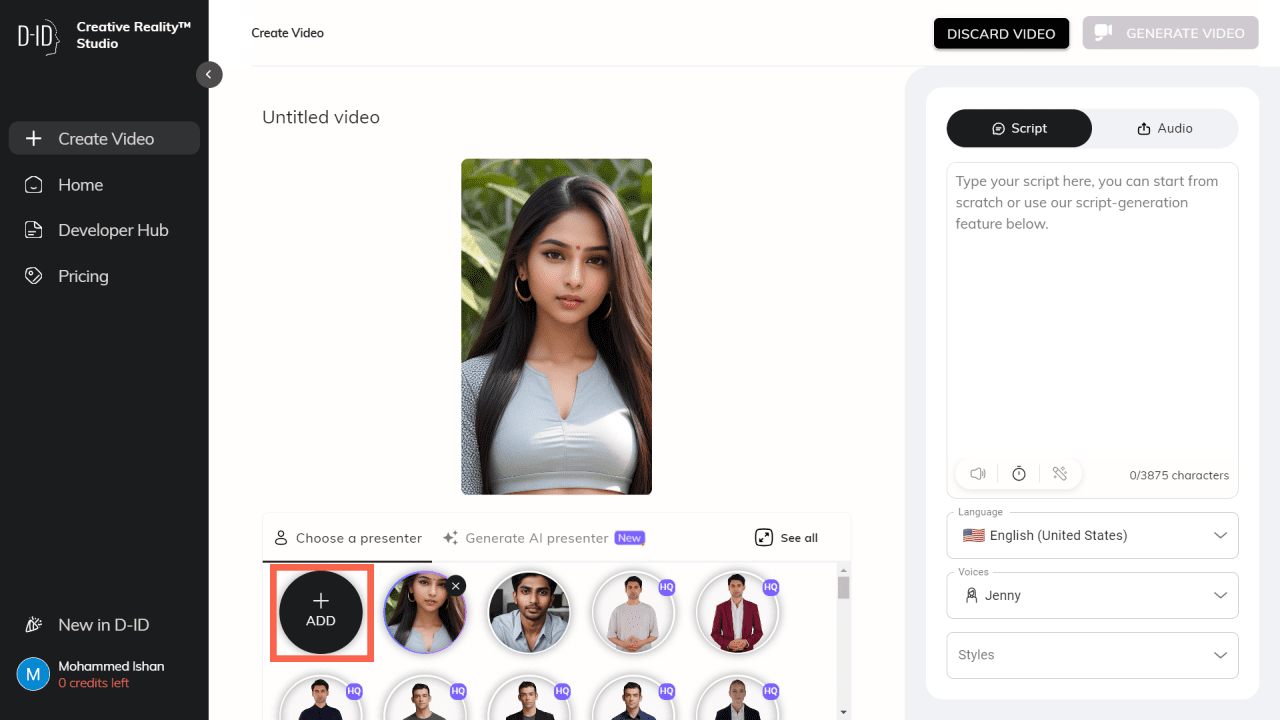
On the dashboard, you can see an add button just click on it to upload your avatar’s image, once it is uploaded you can easily turn it into a talking AI character.
Write Your Script
But before you make your AI avatar speak you need an engaging script, so first create a script based on your chosen niche, here also you can use ChatGPT for topic ideas and writing script.
Here is a dedicated prompt for creating a YouTube video script using ChatGPT that can help you create a professional video script.
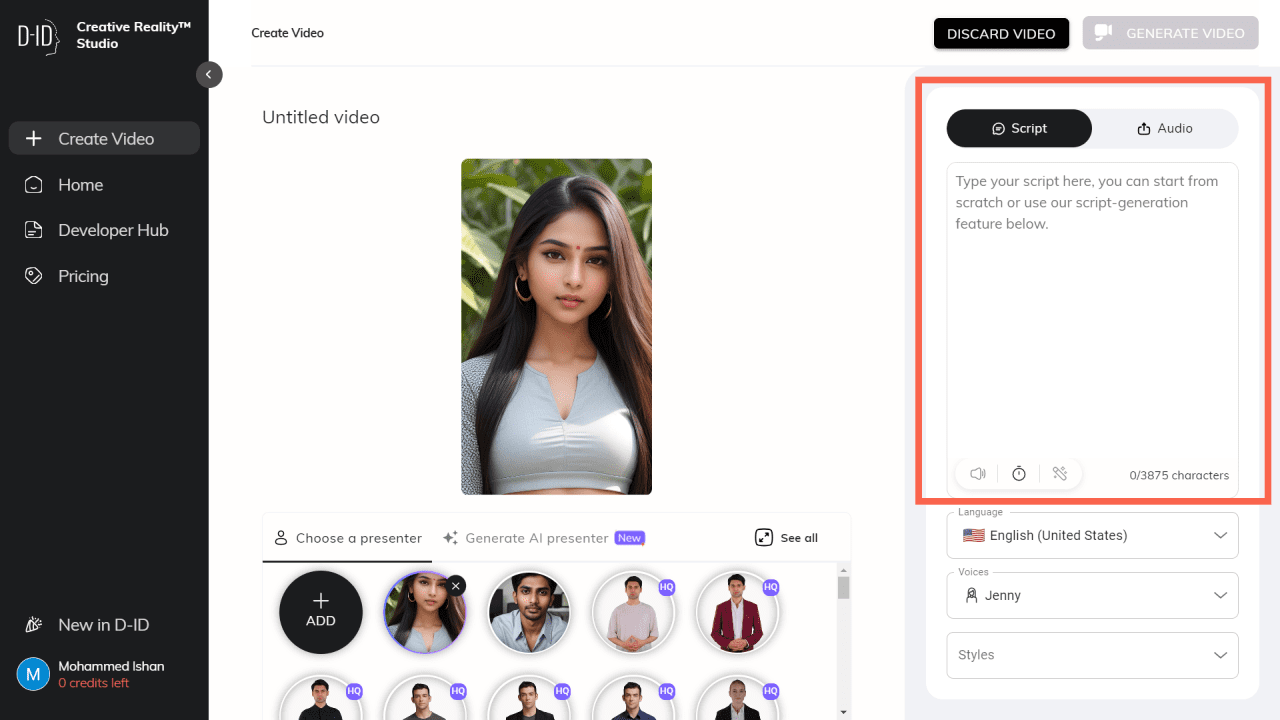
Once your script is ready go to Studio DID and click on the script section and paste it.
Select a Voice
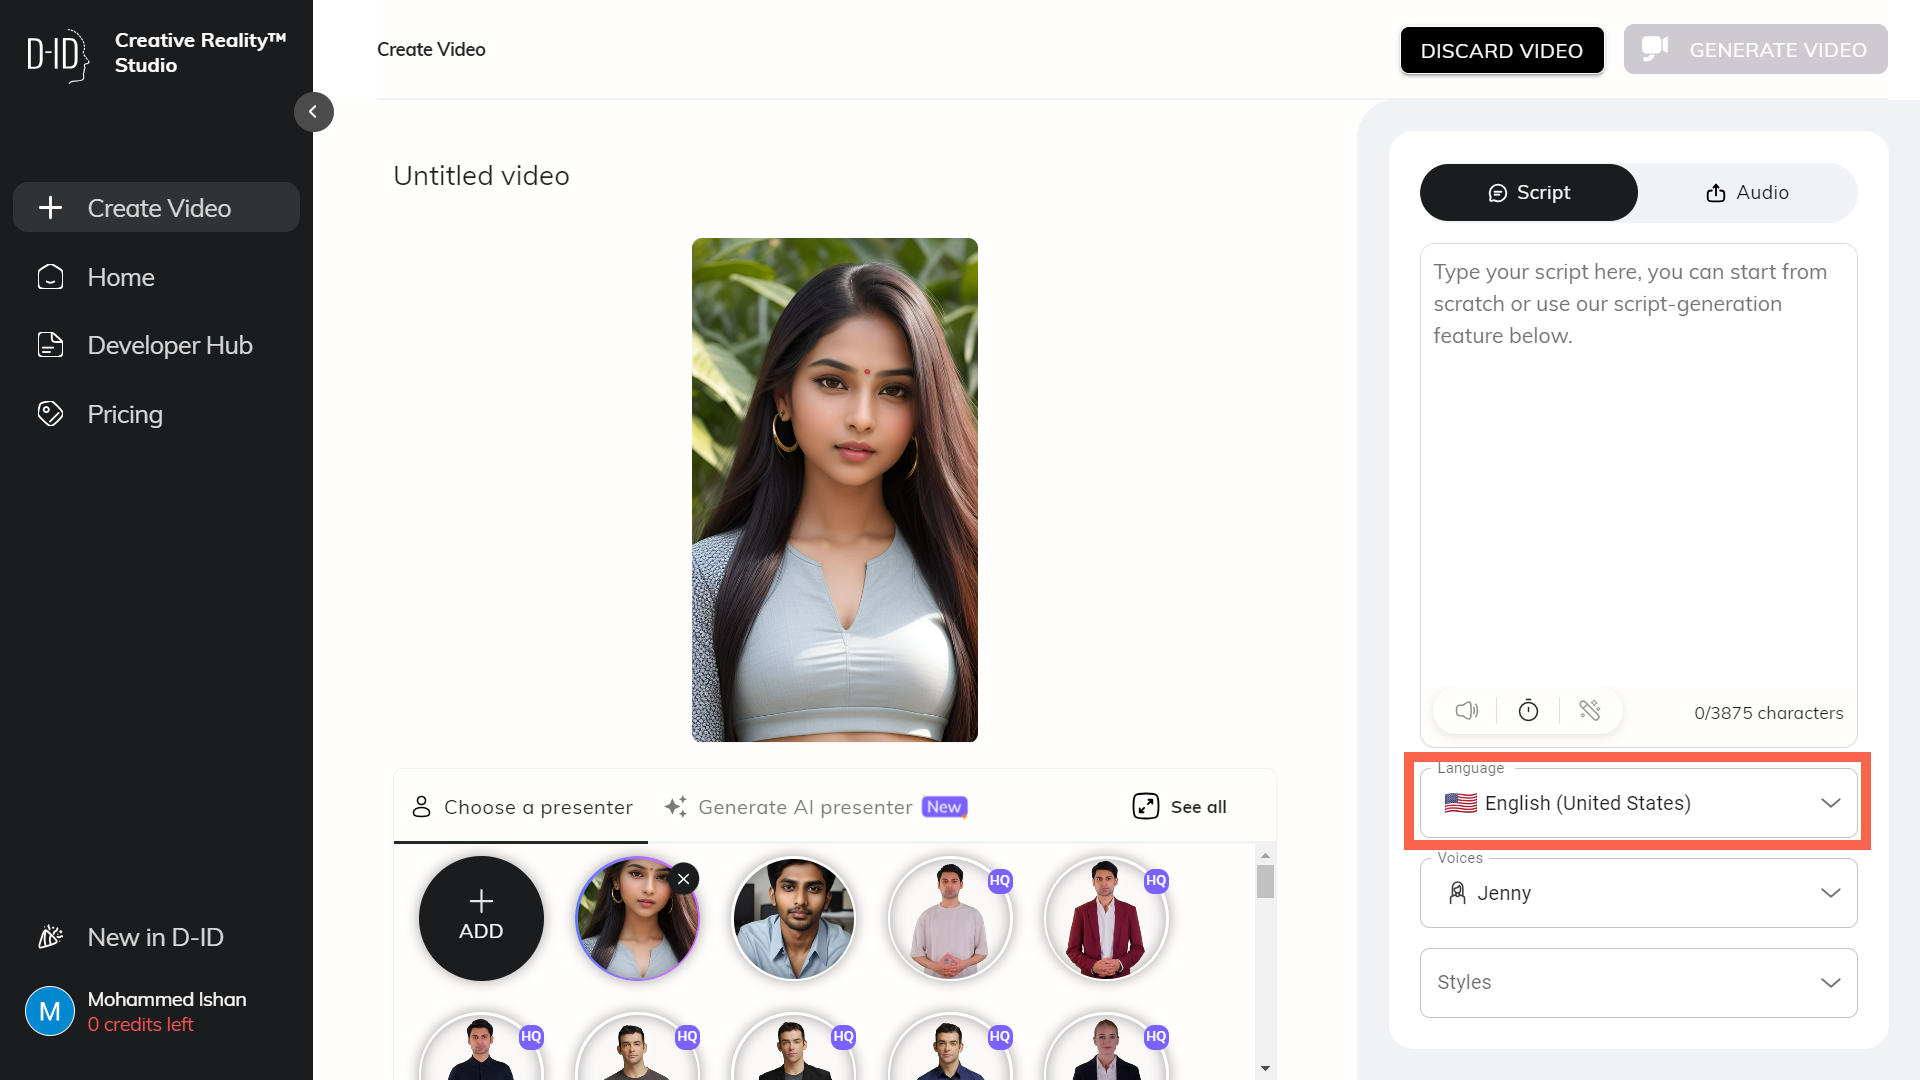
Now we are about to complete the process, you just have to convert that text script to voice, and to do that just go below the script section and select the language you want, just click on the language option and you will see multiple suggestions.
Once your language is selected you have to select a character’s voice from the voice option just click on it and it will suggest you voice of multiple AI characters from different countries just select any one of them and your voice is also ready.
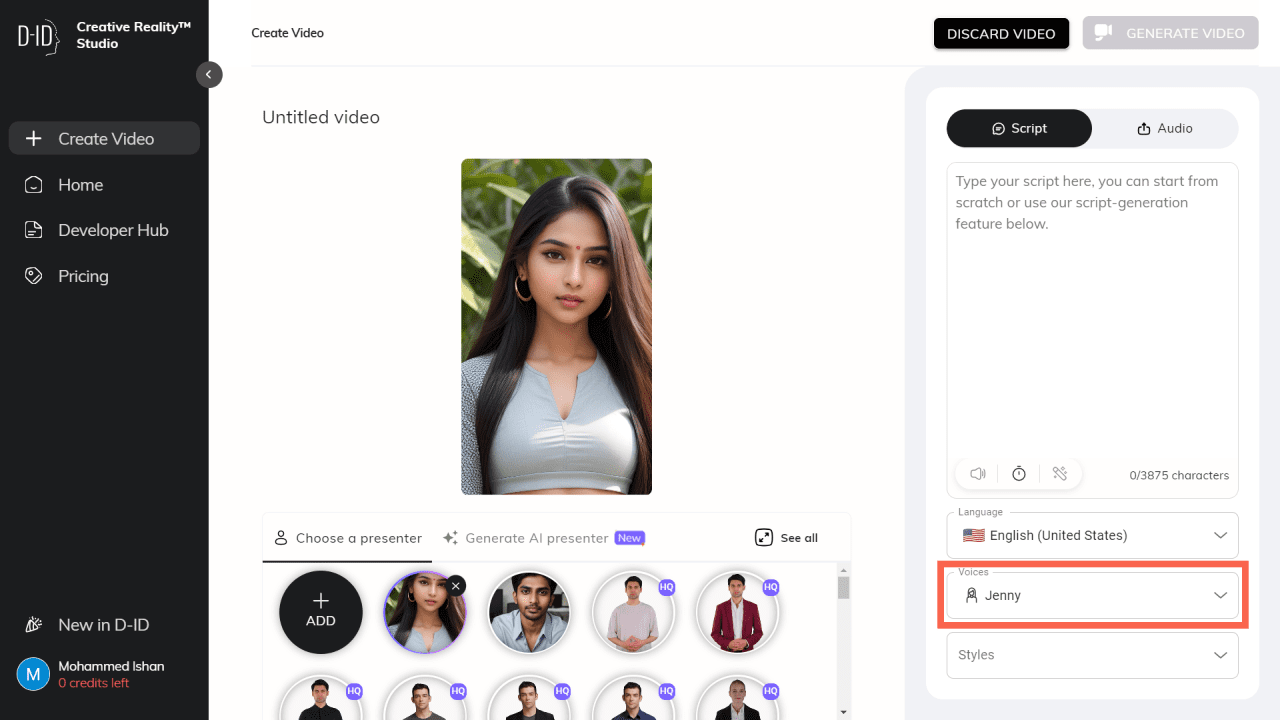
To hear the voice just click on the speaker icon situated in the script section.
Bonus Tip
This step is for those who are not satisfied with the voices available inside Studio DID, you can use an AI voice cloning tool called Elevenlabs to create your avatar’s voice.
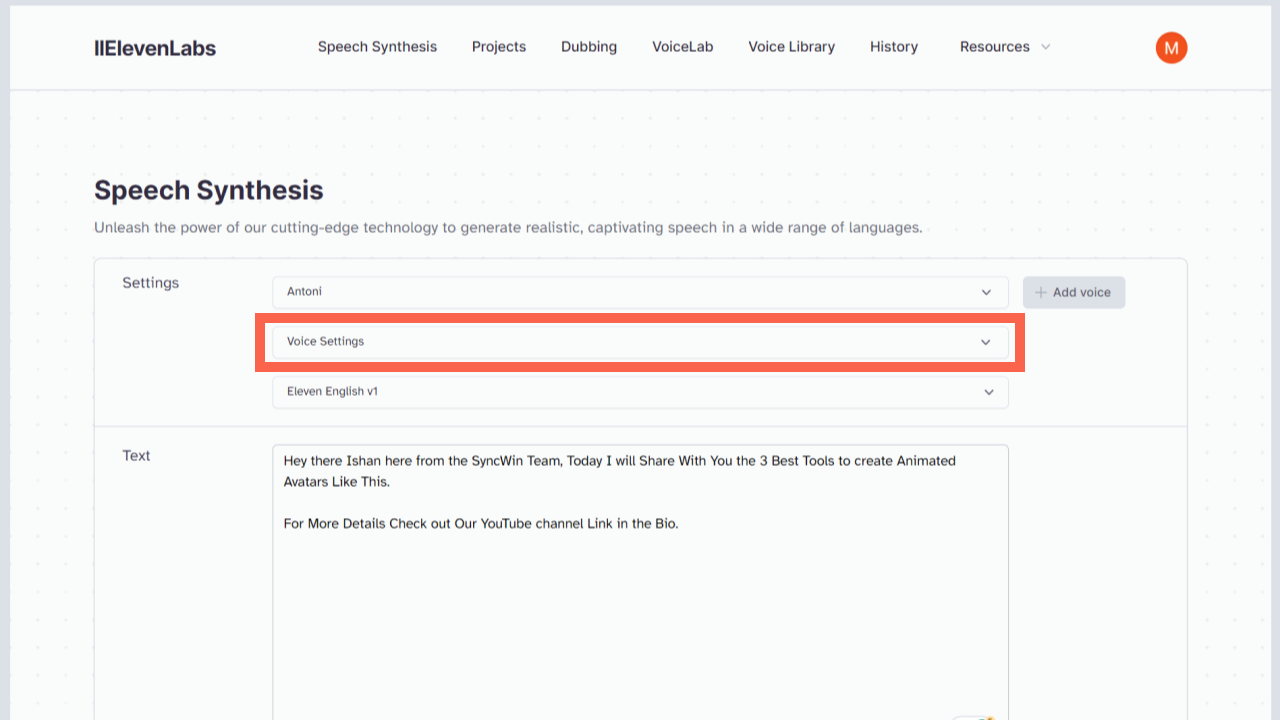
Just go to Elevenlabs and there are hundreds of AI voices available for you to use. To use them just go to Elevenlabs and select your AI voice artist.
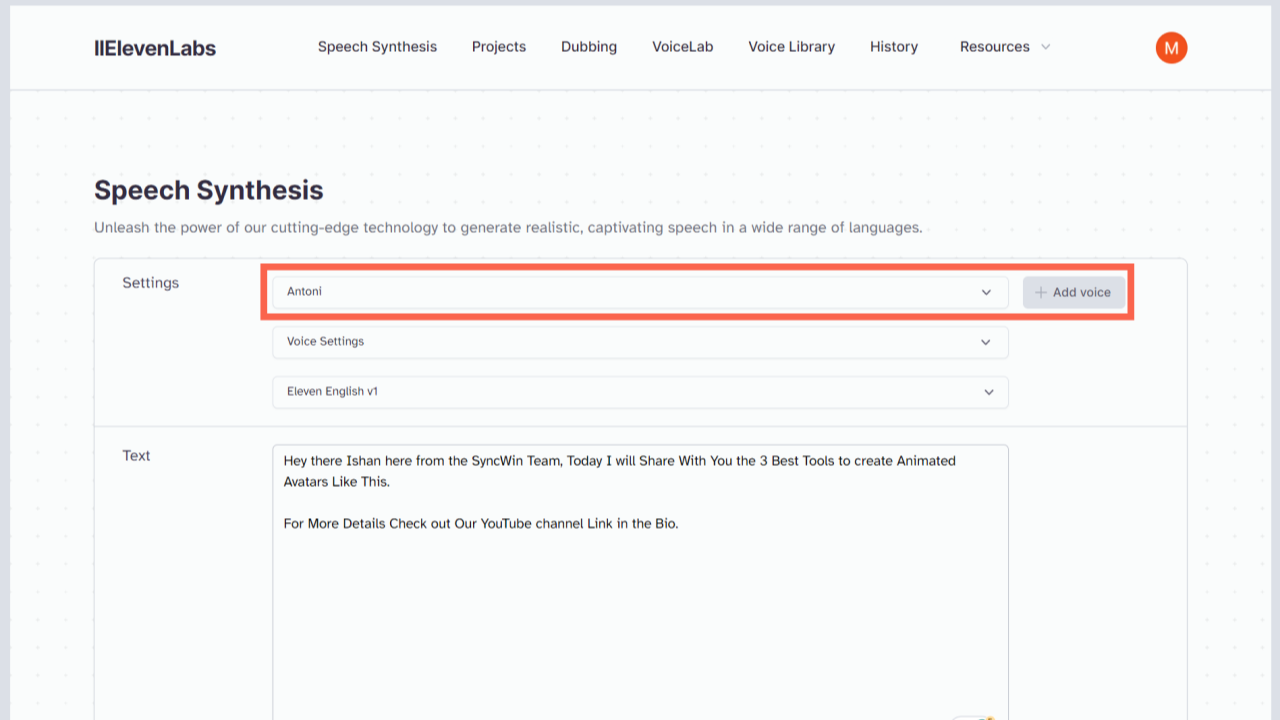
Manage the voice clarity and stability from the voice settings.
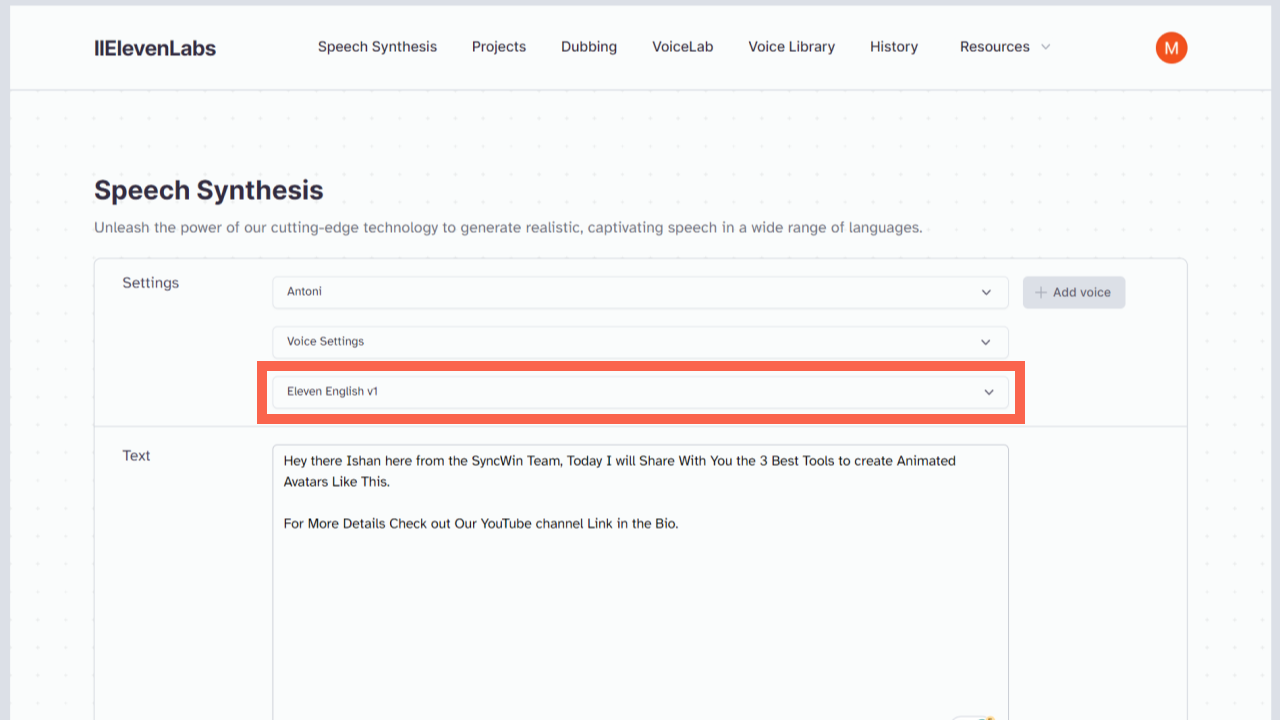
To change language just go to the option right below it and select the language you want.
Once you are done paste the script you created and hit the generate button.
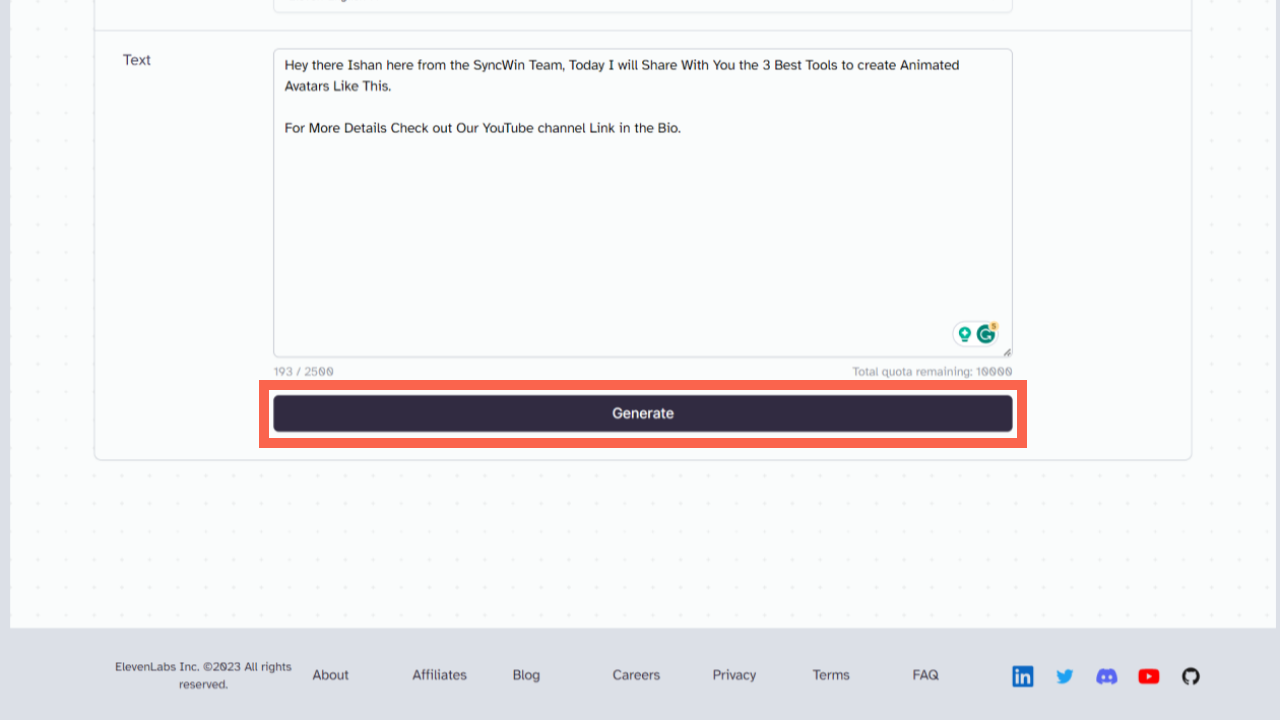
If you are not satisfied with the voice, you can regenerate the voice again after rearranging the voice setting to get the best output.
When you are done download it and upload it to the Studio DID audio section right beside the script option just click on it and upload the audio file.
Then just hit the generate button.
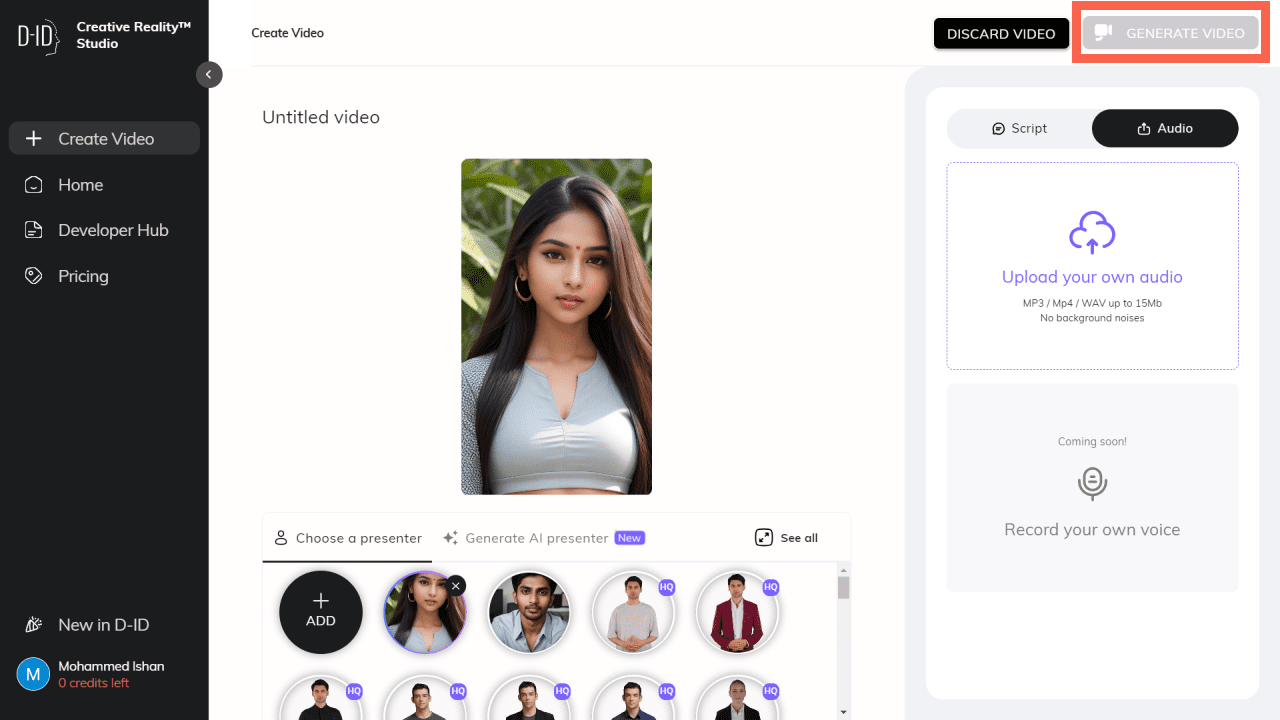
It will take some time to create your ai generated avatar video once it’s done preview it and when you are satisfied you can download the video.
Conclusion
So there you have it the step-by-step tutorial for creating your own AI talking avatar using Leonardo AI and Studio DID. If you liked this article then tell me when you are going to create your own AI avatar video.
Also, consider sharing it with your AI enthusiast friends and colleagues who also want to make their own AI-powered brand.
It’s time to say goodbye, but don’t worry I am going to share lots of business ideas and how you can create them in real life using AI to make money online in my upcoming posts so stay tuned for that.
Till then you can read this post to understand the different businesses you can build using ChatGPT and AI to make money online.